


It’s time to get creative and make your own delicious ice cream at home. Not only is it budget-friendly, but it’s also a fun and rewarding activity for the whole family. Here’s how to make your own DIY ice cream.
Why This Recipe Works
This ice cream method is based on a simple science trick: using salt to lower the temperature of ice, which then freezes the ice cream mixture. The shaking process also incorporates air into the mix, making the ice cream creamy and delicious.

What You’ll Need
Ingredients:
Equipment:
Recipe Ingredients and Variations
Cream or Milk: We recommend using 1 1/2 cups of heavy cream and 1/2 cup of whole milk for a perfect balance of creamy and light texture. You can also use coconut milk for a dairy-free option.
Sugar: Granulated sugar is best as it dissolves quickly without heating. Adjust sweetness to taste.
Flavoring: Vanilla extract is classic, but feel free to experiment with other flavors. Remember to use less of stronger extracts.
Mix-ins: Add your favorite mix-ins at the end for a personalized touch. Crumbled Oreos, chopped strawberries, or nuts are great options.
How to Make Ice Cream in a Bag
Combine Ingredients:
Prepare the Ice Bag:
Combine the Bags:
Shake It Up:
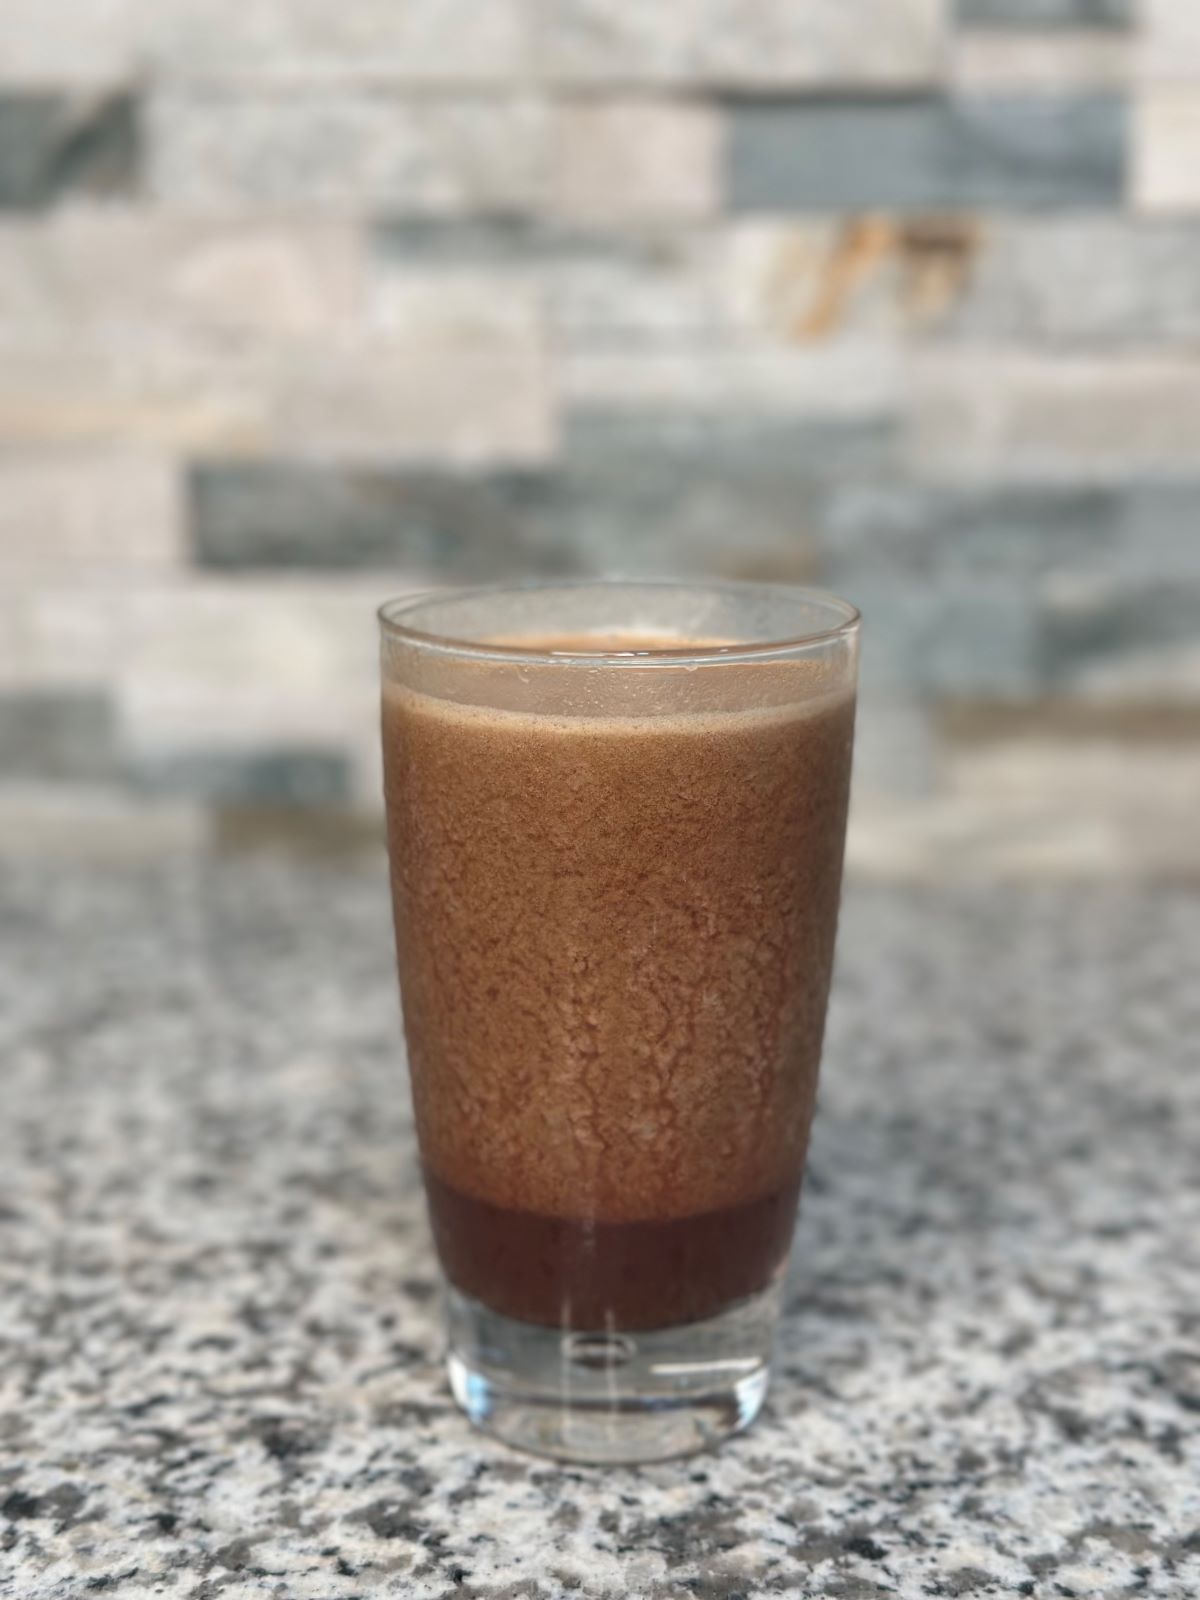
Serve:
Tips for Best Results
Making ice cream with the ziploc bag and ice method is not only easy and cost-effective, but it’s also a fun activity for kids and adults alike. Customize your ice cream with your favorite flavors and mix-ins, and enjoy a sweet treat at a fraction of the cost of store-bought ice cream.
Give it a try, and you’ll have delicious, homemade ice cream ready to enjoy in no time!

DIY Ice Cream
Equipment


Ingredients
- 1 cup heavy cream or whole milk heavy cream makes it richer, but whole milk works too
- 2 tablespoons sugar adjust to taste
- ½ teaspoon vanilla extract for classic vanilla flavor
- Optional mix-ins: chocolate chips fruit pieces, crushed cookies, etc.
Instructions
Combine Ingredients:
- Pour the heavy cream (or milk), sugar, and vanilla extract into the small ziploc bag. If you're adding mix-ins like chocolate chips or fruit, add them now.
- Seal the small bag tightly, ensuring there is no air trapped inside to avoid any leaks.
Prepare the Ice Bag:
- Fill the large ziploc bag halfway with ice.
- Add the rock salt to the ice. The salt is essential because it lowers the freezing point of the ice, creating a super-cold environment that freezes the ice cream base quickly.
Combine the Bags:
- Place the sealed small ziploc bag into the large ziploc bag filled with ice and salt. Make sure the small bag is nestled well within the ice.
- Seal the large bag tightly to prevent any leaks during shaking.
Shake It Up:
- Shake the bags vigorously for about 5-10 minutes. If the cold gets too intense, wrap the large bag in a towel or wear gloves to protect your hands.
- Keep shaking until the mixture in the small bag thickens to an ice cream consistency. This might take a bit of muscle, but it’s worth it!
- Enjoy Your Homemade Ice Cream!
Serve:
- Once the ice cream has thickened, carefully remove the small ziplock bag from the large bag. Wipe off any salt from the outside of the small bag before opening it to avoid getting any salt in your ice cream.
- Open the small bag and scoop the ice cream into a bowl or cone. If you want to add any toppings, now’s the time!

